ArticlesBreakdown
The biggest AI image I've made: an 11 × 7 m backdrop for HONGQI
 Nick Brighter5 min read
Contents
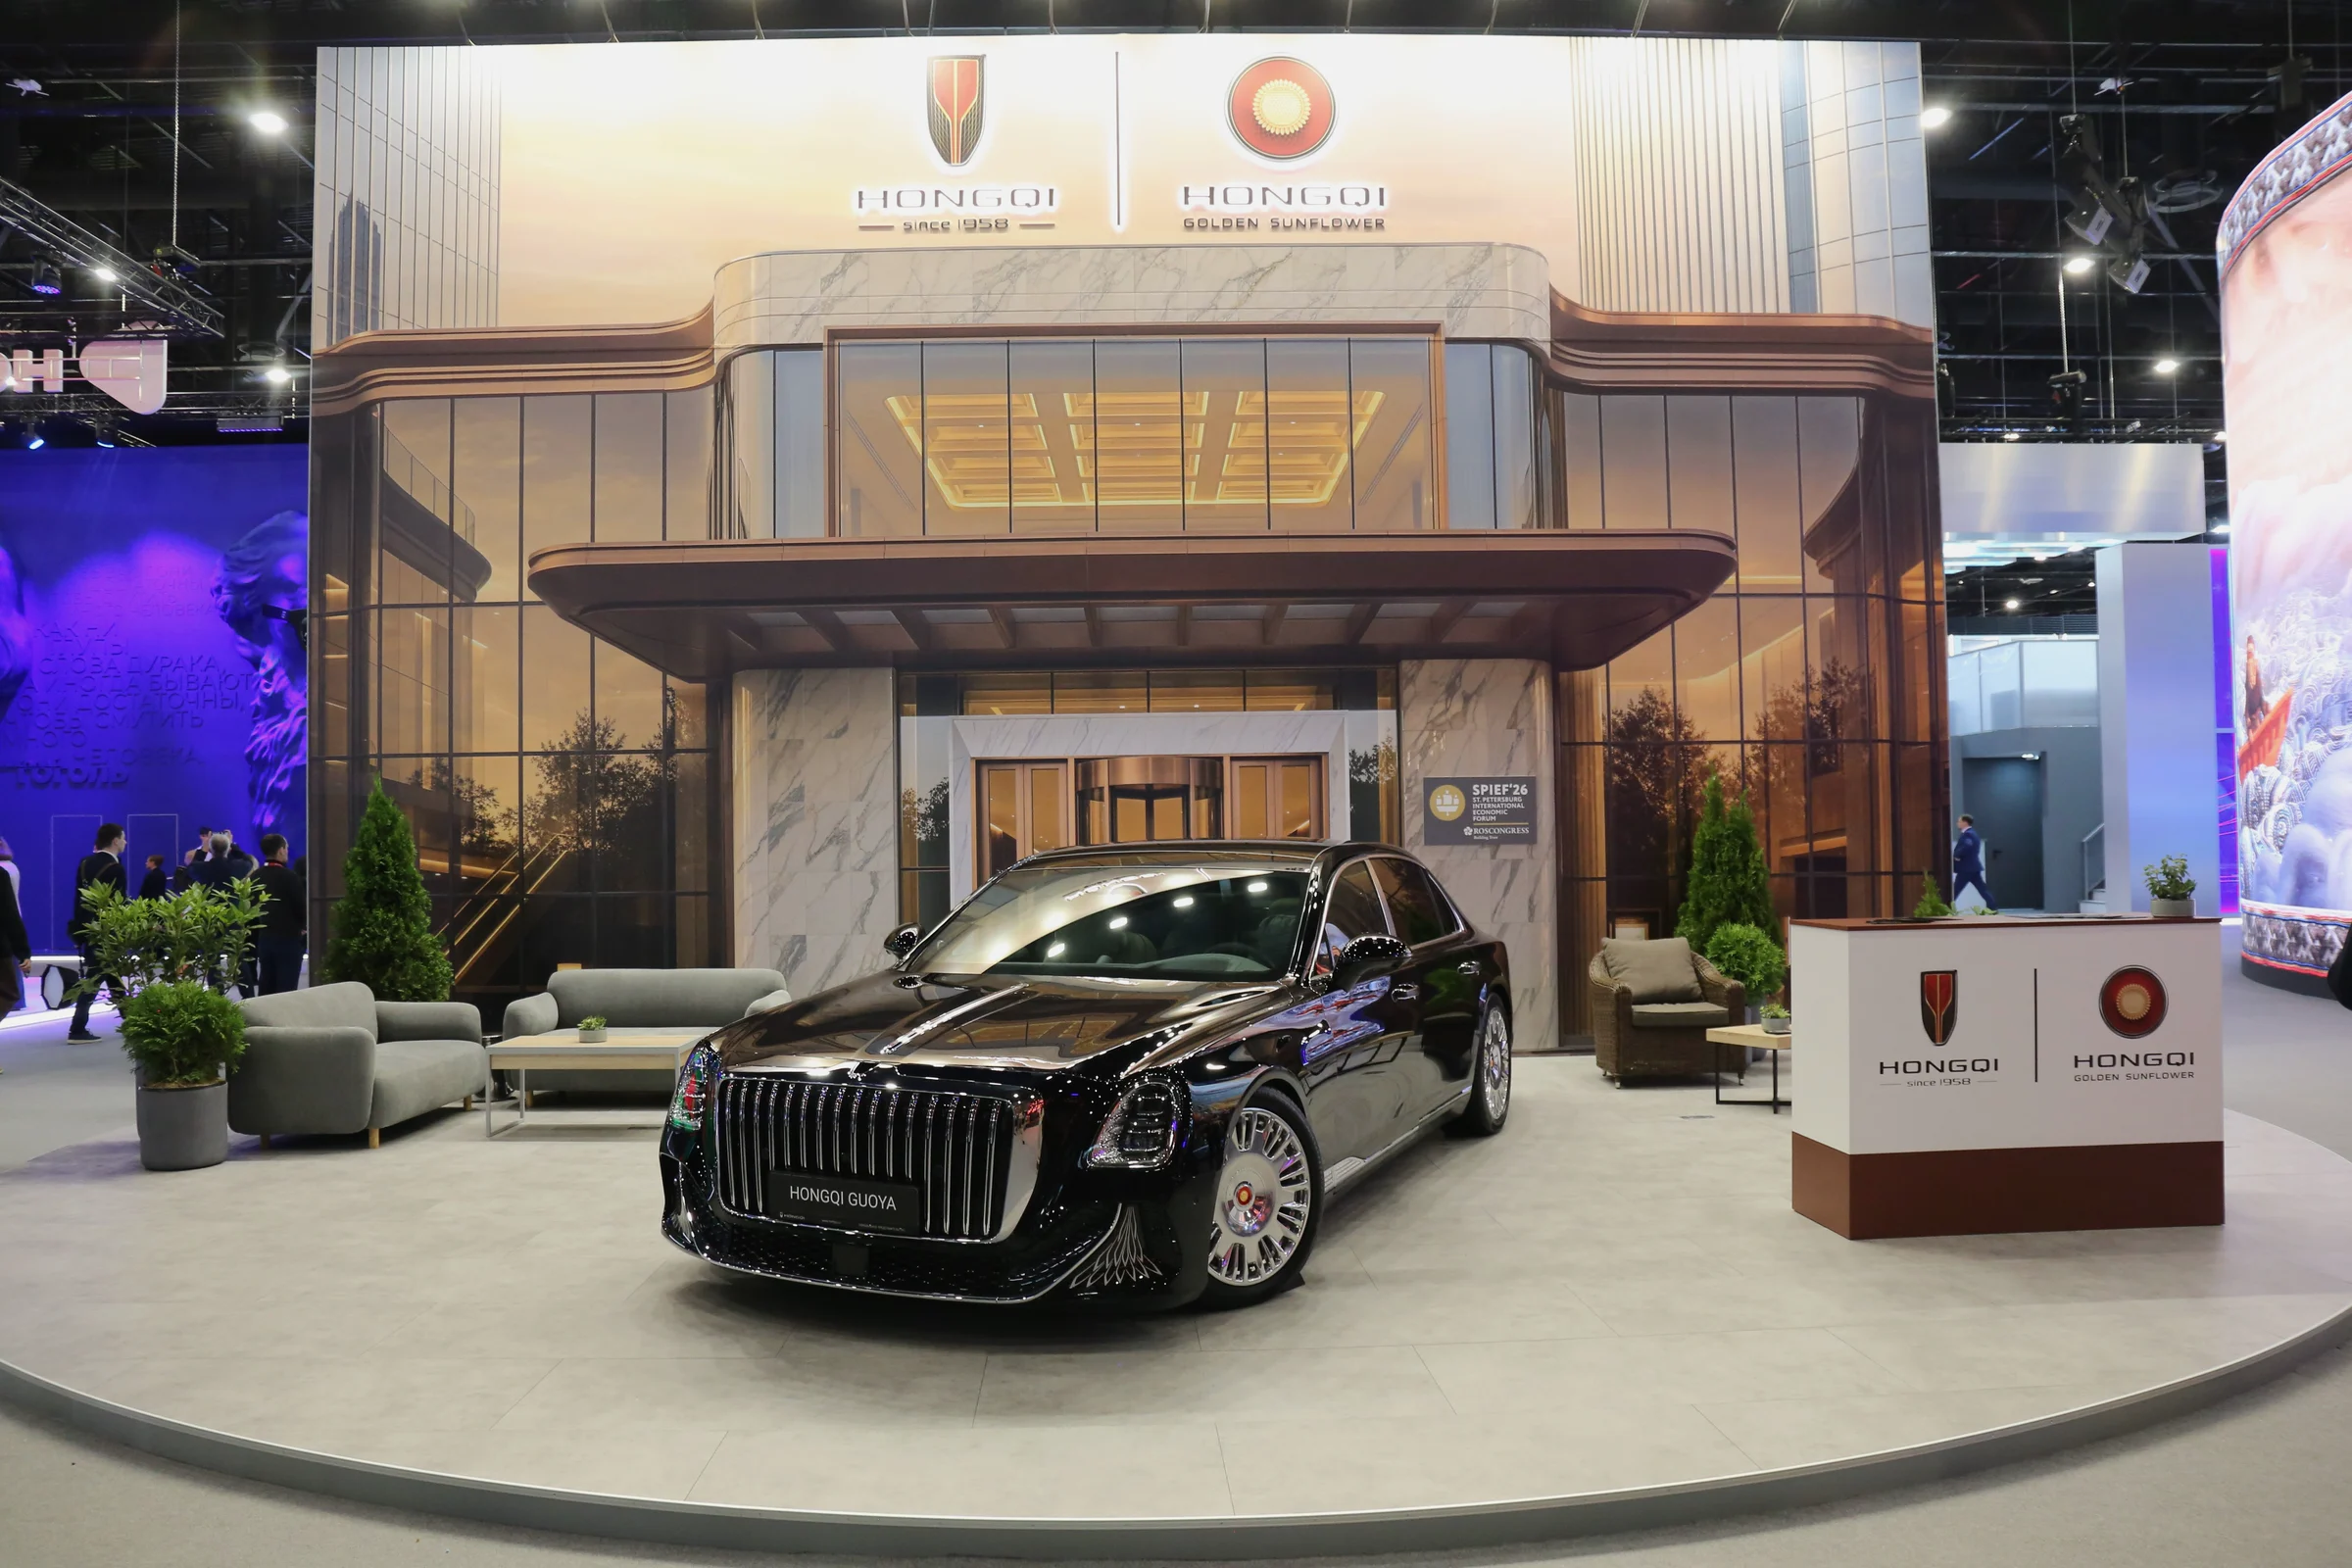
For the HONGQI stand at SPIEF 2026 I made a backdrop 11 metres wide and 7 metres tall, with the real car parked in front of it. It started as a 4K AI frame.
I approved the image small and built the size afterwards. After one upscale of the whole frame I regenerated more than 15 regions tile by tile, upscaled each tile again and stitched them by hand. Below are all the details of how an AI frame becomes an 11-metre banner.
How it started
The backdrop grew out of a 16-frame AI photo series of the Guoya. For the series we approved the settings first: a country residence, a theatre, a glass business centre. It was the building the client liked, and it became the stand.
The brief asked for one image, printed in two pieces, so the seam had to go where it would not show. The building also had to sit at a scale where a person walking up to the stand would look natural next to it.
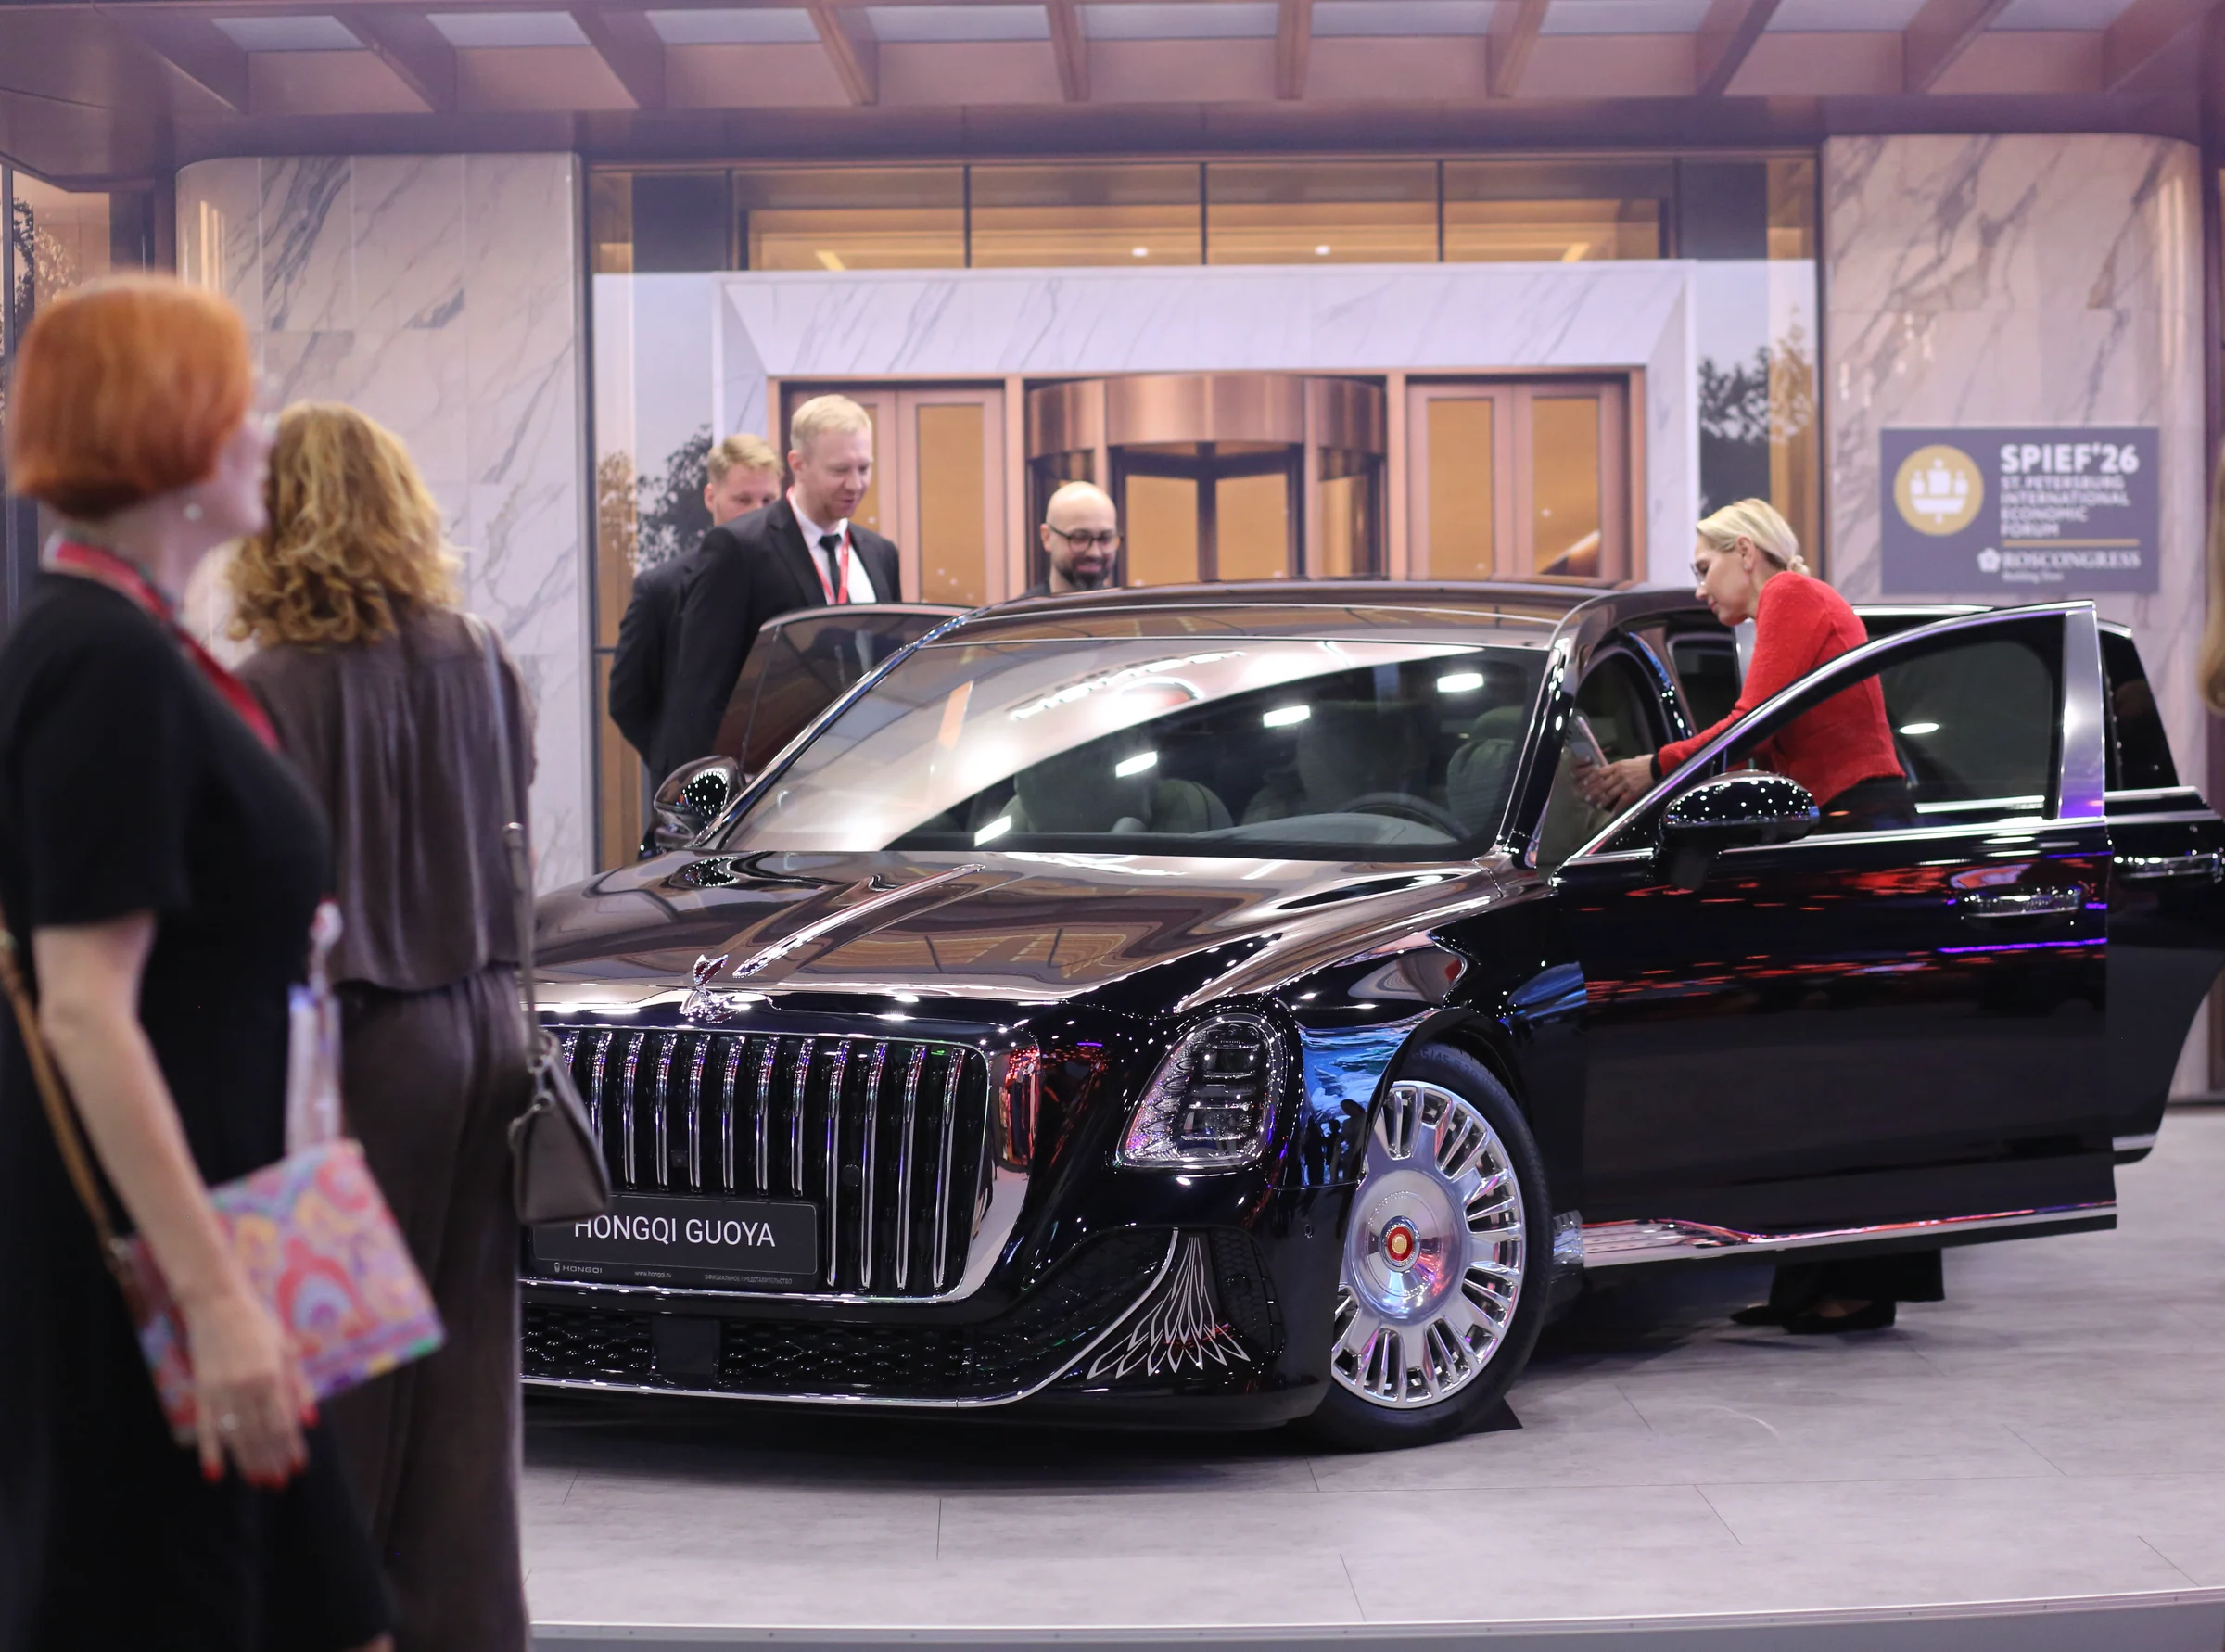
I took out everything but the building: the road, the fountains, the bushes. On the stand the client printed the floor and put real fountains and greenery in front of the wall. I removed the car as well, because the real Guoya stood on the podium.
I prepared the building on its own. The facade faces you straight on, with vertical lines and no perspective distortion, as if it had been scanned with no space between the camera and the wall.
The door grew from 123 to 200 cm
On a desktop monitor it is hard to picture a building at full size. In my first version the door was 123 cm tall, and the agency pointed out how odd that would look when a person walked up to it. I took it to 170 cm, then extended it into the windows above: 200.3 cm in the final file.
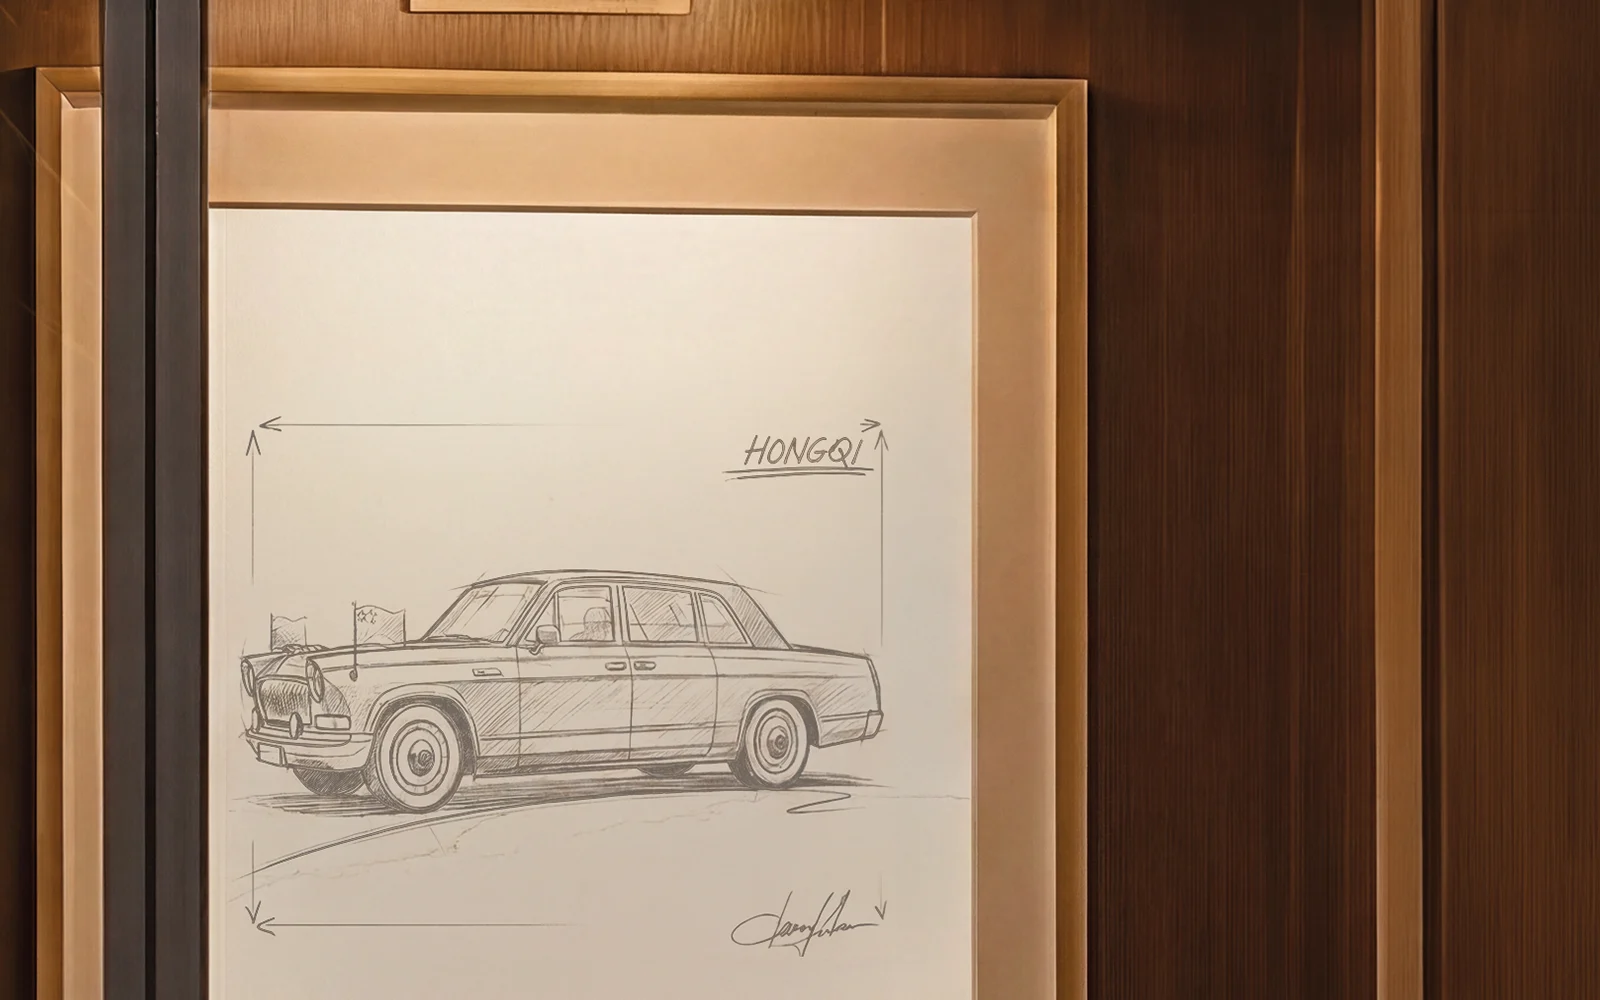
The armchairs, tables, escalator and railings needed the same check in centimetres. The agency also asked to bring in the brand's classic car, so a pencil sketch of an early HONGQI hangs in a frame inside the lobby, behind the glass.
What resolution does an 11 × 7 m print need?
For this backdrop, 100 ppi at full size. The print file was 44,094 × 28,346 pixels, CMYK 8-bit with the Coated FOGRA39 profile. That is 11.2 × 7.2 m: the 11 × 7 m wall plus 100 mm of bleed on every side.
ppi counts the pixels in one inch of the printed size, so the same file prints sharp or soft depending on how big it is. I first counted 150 ppi, which gave 66,142 × 42,520 pixels. The stand's technical spec allowed 72.
Halving the ppi halves each side and leaves a quarter of the pixels. We settled on 100.
Ask the printer for four things before you generate anything: the ppi, the colour profile, the bleed and where they will split the print.
From 4K to 44,094 pixels in five steps
- I approved the draft with the client at 4K, extending the bottom of the frame and fitting the top to the proportions of the wall.
- Topaz Starlight upscaled the whole frame on my workstation. That pass alone ran for several hours.
- I split the image by hand into more than 15 tiles: doors, glass, tables and lounge zones on both sides, the escalator, windows, the marble facade, ceilings, the roof and its railings. I regenerated each tile with more detail, some in several passes.
- Every tile went through Topaz Starlight again.
- In Photoshop I stitched the tiles and retouched every border until no tile edge showed.
The agency's first question was whether an upscale alone would do. An upscaler fills in neighbouring pixels, while a generative model knows what the object is from the prompt. Push an upscaler past about 10x and the armchairs fall apart and the fountains look like plastic. Even below that, Topaz added no detail of its own, so I reworked the details by hand.
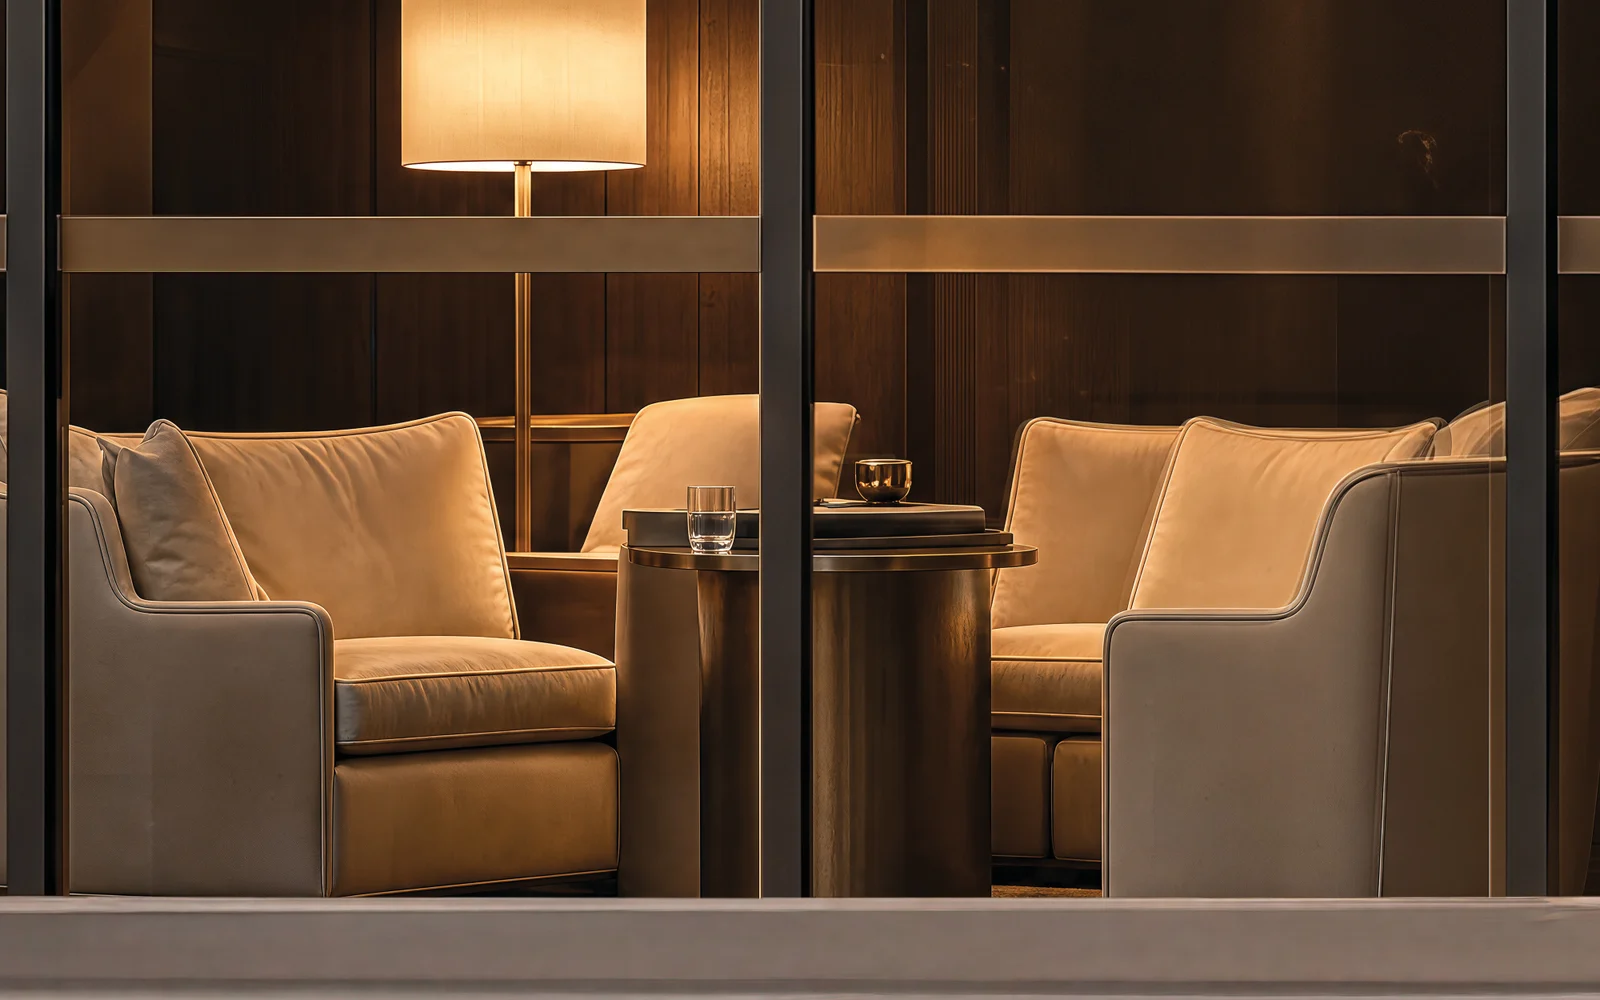
The glass was the second problem. A glass building shows what is inside it and reflects what is around it, and the reflections broke from one tile to the next. I reworked them by hand as well.
The print seam hides on the cornice, 5 m up
The printer could not print the wall in one pass. It came in two pieces, joined by a 30 mm strip. I put the seam 5 metres up, where it catches the eye least. It runs along a line the building already has: the top edge of the copper cornice above the glass.
The strip could be any colour, so I measured the image along the seam and offered two colours that blend with it: CMYK 30/50/50/20 or 23/44/47/7.
The client checked it like a map
An image 11 metres wide does not open on every computer. I put the file into a deep-zoom viewer that works like a map: 25,733 tiles of 256 × 256 pixels across 17 zoom levels. You zoom in and the next level loads. The link keeps the position, so the agency could send a link to any spot that needed a fix.
What I'd tell a client ordering a large AI print
- Approve the image small, then build the size.
- Get the printer's specs first: ppi, colour profile, bleed and the split.
- Check everything at human height in centimetres. A door is the quickest test.
- Decide what stands on the stand for real and what is printed. Here it was the car, the fountains and the greenery.
- Give the client a way to see the file at 100% without downloading it.
When the stand went up, it was the biggest AI image I had ever made.